In the world of pumpkins, there are the varieties that are great for carving - and those that are made for eating. Selecting the perfect pumpkin for carving can be a real adventure considering all the different shapes, sizes, and colors out there. And like people, every pumpkin has its unique characteristics, giving it a personality all its own. Pumpkin carving is a tradition your whole family can enjoy, so here’s a few tips on picking and carving one.
Choose a design before shopping for a pumpkin. Think about which shape would best suit your design - tall and narrow or fat and round. If you're using a stencil, look for a pumpkin with a shape similar to the pattern you're planning to carve.
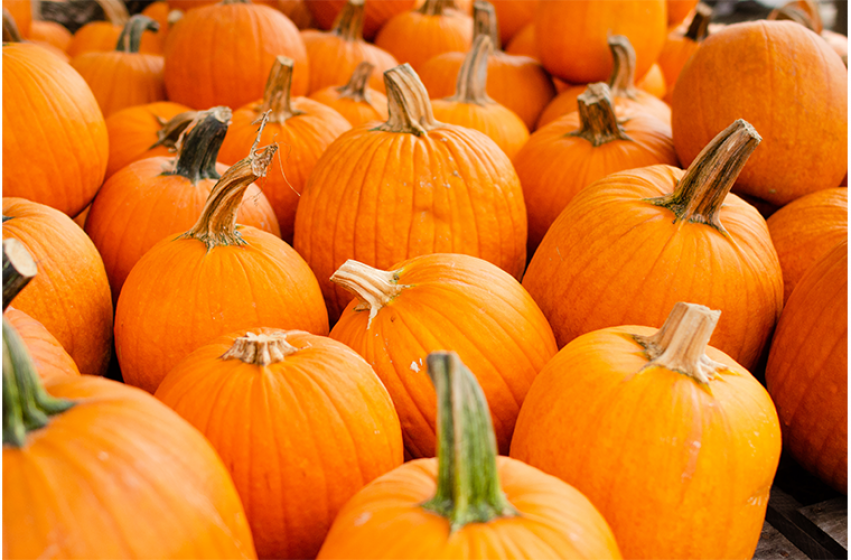
Look for a pumpkin that's...
firm and free from cuts, soft spots and bruises.
sits well on the ground and is stable.
includes a bit of stem.
When carving...
wipe your pumpkin off with a little bleach and water (approx. 1 tsp. bleach to 1 cup water) before you begin. This will greatly cut down on fungus.
don't cut into your pumpkin around stem. Cutting out a stem cap weakens the pumpkin. Instead, access the pumpkin from backside – this will help preserve freshness. Hiding the opening in the back also gives the pumpkin more visual appeal.
scrape and clean the inside of the pumpkin as much as possible. The cleaner you get it, the longer you'll have a great looking jack-o-lantern. (gut it out twice as much as you think you need to).
place your finished masterpiece in a dry, shady area - it will last longer!
TIPS:
Tall, thin shapes are perfect for funny and whimsical faces. Round shapes are ideal for happy and scary ones.
Oddly shaped pumpkins are perfect for creating unique characters.
Consider a white pumpkin, when unlit, white pumpkins appear to glow as the daylight fades.
Click here >> to find out more about our upcoming pumpkin workshops.