5 Tips for Bulb Success
Bulbs-the perfect plant for the laid-back gardener. Really, all you need to do is dig, drop, and then you’re done! However, there are ways to make your bulb gardening even more successful, and we are here to help.
1. Find the Perfect Spot
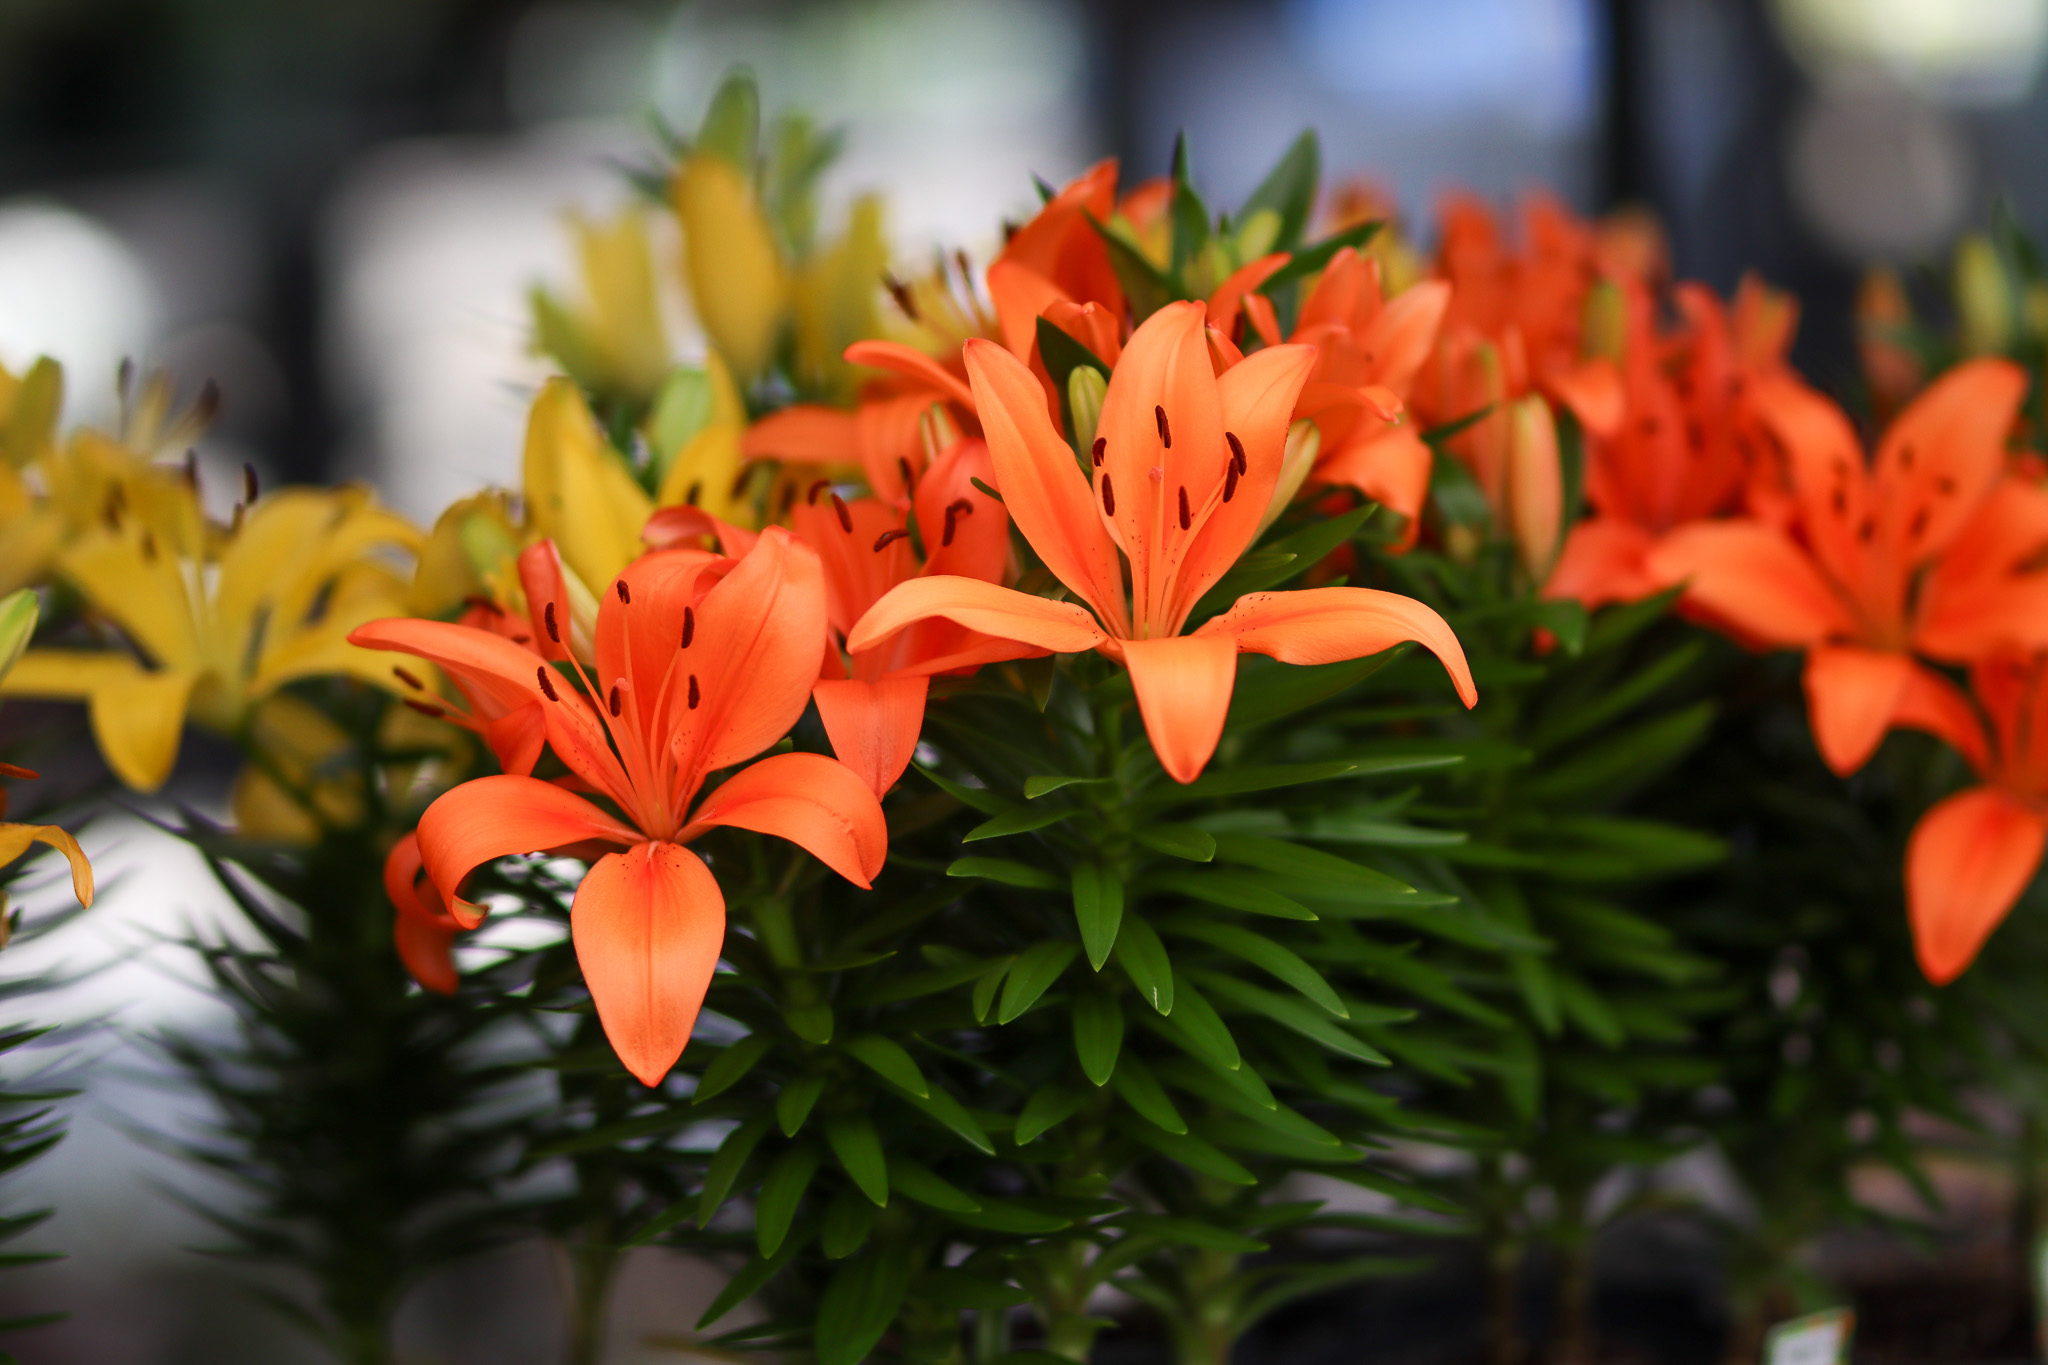
Bulbs make an amazing display in both beds and containers, so finding the perfect spot to plant them is key. In general, bulbs prefer loose, well-draining soil and full sun. However, your bulb placement may also depend on the kind of bulbs you are planting. Flowering bulbs look great on the front edge of garden beds, around trees, and in porch containers. Edible bulbs, like garlic and onions, can be more strategically planted- either in a designated fall veggie garden, or even a container in the backyard, just for them!
2. Give them Just Enough Space
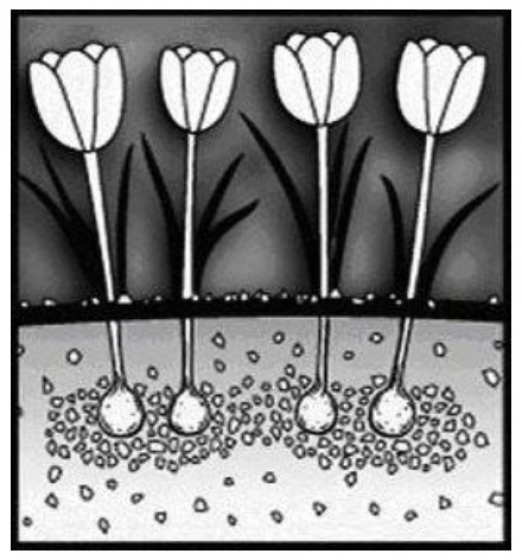
Making sure your bulbs are not planted too closely together ensures your bulb flowers achieve even growth in the upcoming spring. Conversely, you want to make sure they are not too far apart also, so you can still make a colorful impact. A good rule of thumb for most bulbs is 2-3 inches apart. Four inches gives too much space, while under 2 inches can affect the plant growing in some cases.
PRO-TIP: While thinking about the width of your bulbs, also consider the depth. Different bulbs bloom at different depths in the soil, so you may need to dig more or less depending on this factor.
3. Planting at the Right Time
Not all bulbs are the same! Different bulbs have different times that they need to be planted. While you can start your garlic bulbs as early as September in some cases, many tulips need to be planted in November when it’s colder here in Hampton Roads. If you aren’t sure what time your bulbs need to be planted, make sure you ask one of our Green Team members before planting.
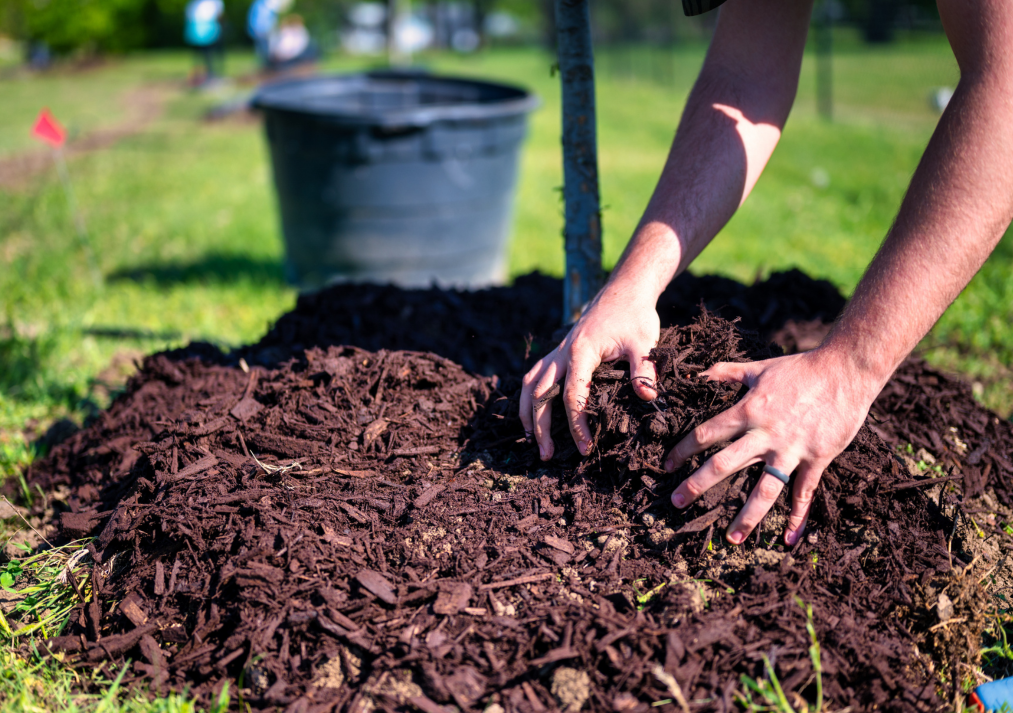
4. Give them the Right Amendments
Soil amending may need to be done when planting bulbs depending on where you are planting. In the ground, you will need to amend your ground with products like compost, Espoma Bulb Tone, or even Espoma Bio-tone. For container bulb planting, you will need to use potting soil.
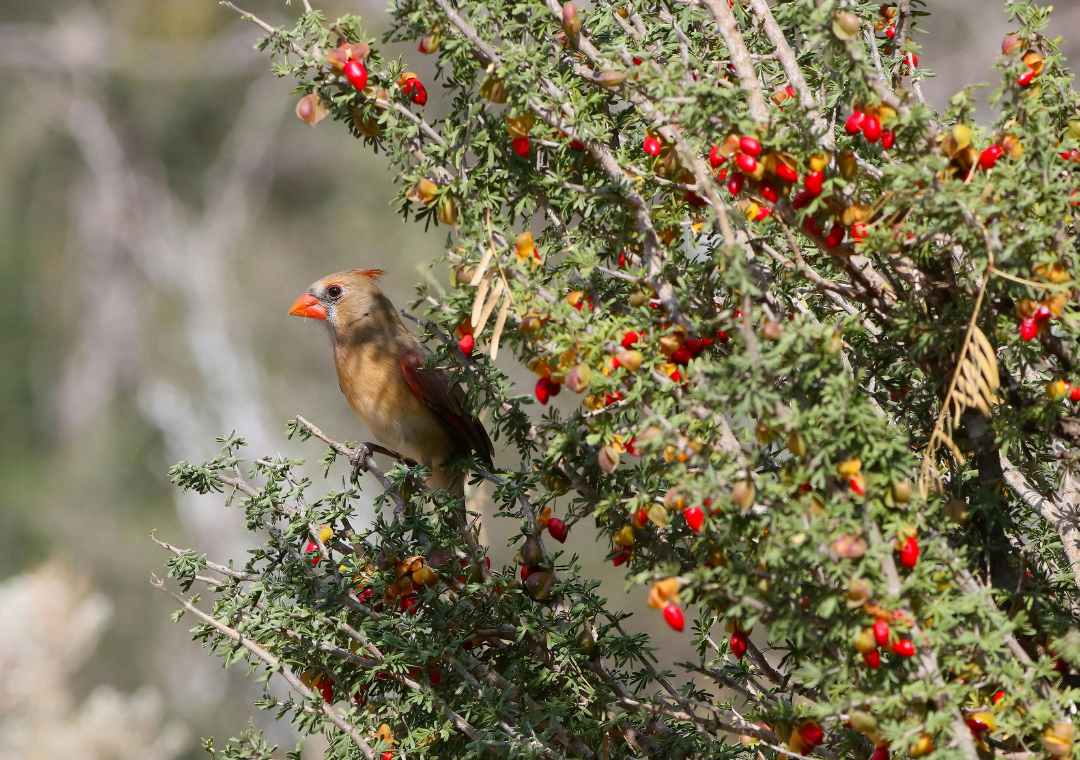
5. Prevent Vole Issues with PermaTill
Voles have a habit of damaging bulbs, which can make your blooms not come next spring at all. With PermaTill, this problem is mitigated by protecting the bulbs with a “layer” of a coarse mixture. Voles don’t like digging through hard textures and this mixture also stores air, moisture, and soluble nutrients for the roots and bulbs it protects. It is also non-toxic and safe for use anywhere in the landscape, even for plants that aren’t bulbs!
TO APPLY PERMATILL:
Dig the planting hole 2-3” deeper than required for the bulbs. Place a 2-3” layer of PermaTill on the bottom of the planting hole and set the bulbs directly on top. Backfill to completely cover the bulbs with 100% PermaTill. Once the bulbs are covered, use a 50/50 blend of PermaTill and existing soil to fill the planting hole to the soil surface. As fragile as bulbs appear to be, they grow beautifully in the coarse PermaTill-VoleBloc barrier.
To learn even more about bulbs and gardening in general, check out the Garden Guru and his webinars with new plants, products, and expert planting advice. To keep inspired and grow with us, follow us on Facebook, Instagram, Pinterest and TikTok to dig into the joys of gardening!